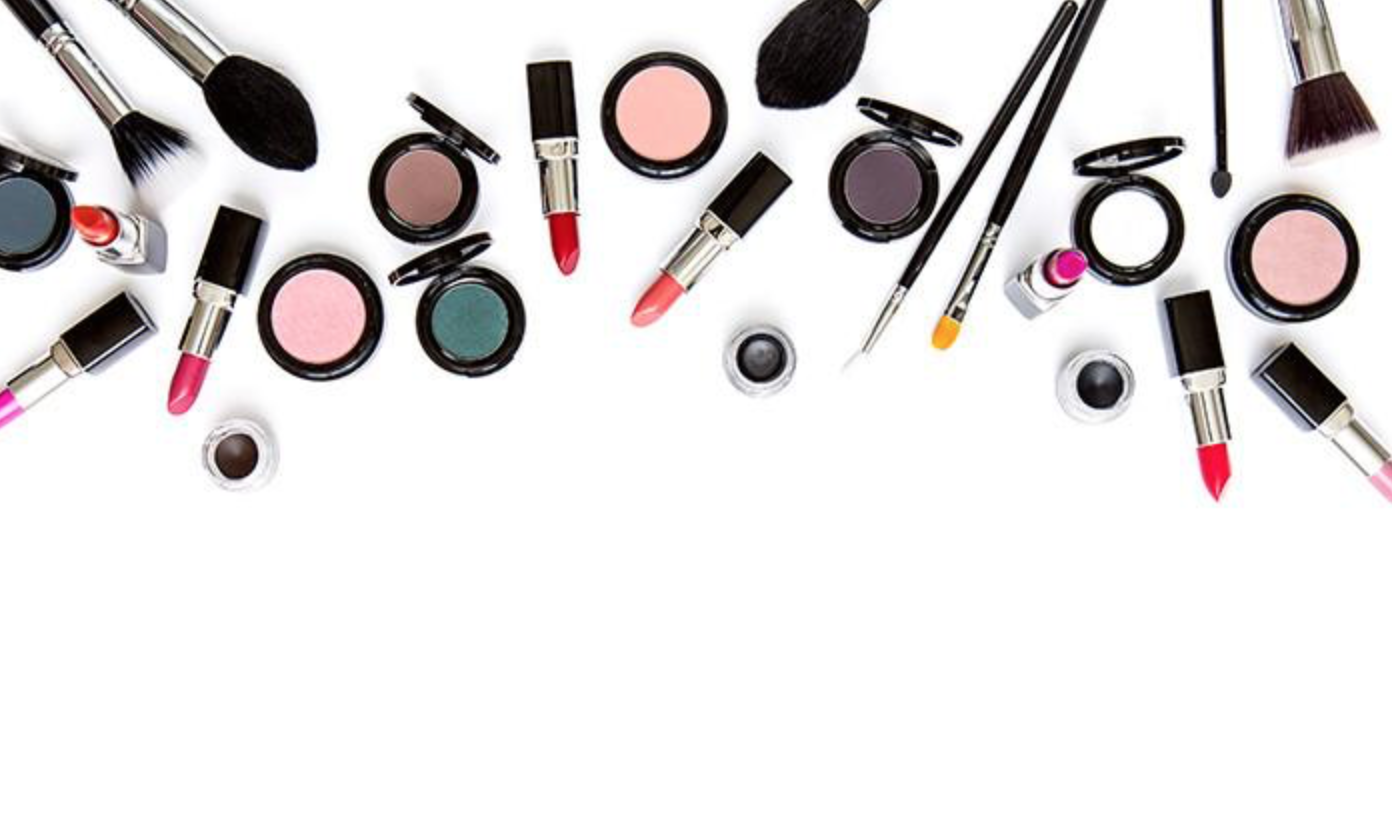
With the spring starting soon, that means engagement photos season is coming! Everyone wants to look their best when they are in front of the camera and it can be overwhelming trying to plan your outfits, hair, makeup, and make sure everything coordinates. As a self-proclaimed MUA, I wanted to pop on here to give some of my best tips for how to do your makeup for photos.
Before I dive too far into it, I do want to mention that a session with a professional photographer is the perfect time to also have your hair and makeup done by a professional! I mean, you’re not having your friend take pictures with their iPhone so why not extend that into your beauty preparations? I can tell you a list of my favorite friendors who can help you out! That being said, I do know that not everyone has the time or budget to hire a professional HMUA so here are some of my tips from my experience as a photographer…
Look like yourself.
There is nothing worse than getting your photos back and feeling like they don’t represent who you are. As photographers, we try our best to capture the unique love, sense of humor, and relationship you and your fiancé have. Your photos should be a representation of YOU. I remember for my wedding, I had my makeup done differently than how I normally do it – I wore fake lashes and had really lightly colored lipstick on, and both my husband and I wish that I had kept it a little more ‘normal’ because I don’t look/feel like myself in all the photos!
Consider your outfits and location.
It is super important to think about where your photos will be taken. If you’ll be at a gorgeous cathedral or mansion wearing a floor-length ball gown, it makes sense to go all out with your makeup. On the flip side, if your session is on a farm and you’ll be in jeans and boots, that might be the occasion for slightly more toned down makeup.
Use a full coverage foundation.
Similar to being on stage, being in front of the camera naturally tones down the appearance of your make up. A full coverage foundation may or may not be more than what you’d wear in your daily life, but it goes a long way in photos. It’ll smooth out your skin and naturally make your complexion creamier. If it feels too heavy and you’re uncomfortable, you can always dab a little of it off with a tissue after applying and before building on the rest of your makeup.
Highlight your inner eye.
This may be the most game-changing tip of them all. When you’re all done with your makeup and about to set everything, take some white eye shadow or super light concealer and highlight the inner corner of your eye like crazy! You may feel like it’s too obvious when you look in the mirror, but through our lens, it just brightens your whole face and naturally draws attention to your gorgeous eyes – which is where we are trying to focus anyway!
Don’t be afraid to be bold.
This is kind of in contrast to tip number one, but if you’ve always wanted to try a red lip, fake lashes, or something out of your comfort zone, this can be a good excuse. Pops of color and elegance in your photos can really take them to the next level. Disclaimer: do a trial before the day of your session. If you try a bold lip color a week before and hate how it looks on you, then you know to avoid it for your session!
Contouring goes a long way.
Like I said before, the camera naturally dulls your makeup a little. Our lenses make your skin creamer and thus can blur your makeup lines. Really contouring your cheekbones and jawline will not only slim the appearance of your face, but will also not look as dramatic on camera as it may in your mirror. I am a big fan of contouring anytime I do my make up, but I go all out on the bronzer and highlighter when I am having my photo taken.
Use some kind of setting powder or spray.
Weather is unpredictable and we want to make sure that your makeup looks the same throughout the session (unless you intentionally want to switch something up, like your lip color, during your outfit change). Here in Maryland, the humidity is no joke so a setting spray or powder will help your make up stay in place and not wear or melt as the session goes on.
Hopefully, these tips help you as you prepare for your next session! These same tips are true no matter what kind of photo you are having taken; engagement, wedding, or milestone. Remember, you are beautiful with or without makeup and we want to make sure you feel that way!


Be the first to comment